


Affiliate Disclaimer
Some links in this article are affiliate links. We may earn a small commission if you make a purchase through these links, at no extra cost to you. We only recommend products we find useful to our readers
Eyelash extensions are worth babbling about, for they look thick and pretty when fixed on your eyelashes. What’s all the more exciting is when you try your skills to fix those thick black extensions on your tiny eyelash. Have you already started to imagine sticking them on your own?
The task is easy, yet, time consuming. Having said that, learn the knacks for DIY eyelash extensions. If you are serious about trying it then you need to keep patience and do it at your own risk. If you are confident then why fear the risk?
In this article, you will learn how to do your own eyelash extensions at home. Fingers crossed with positive vibes! You are successfully going to complete it and finally, smile to the achievement. Are you geared up? Let’s Go!
How to DIY Eyelash Extensions at Home
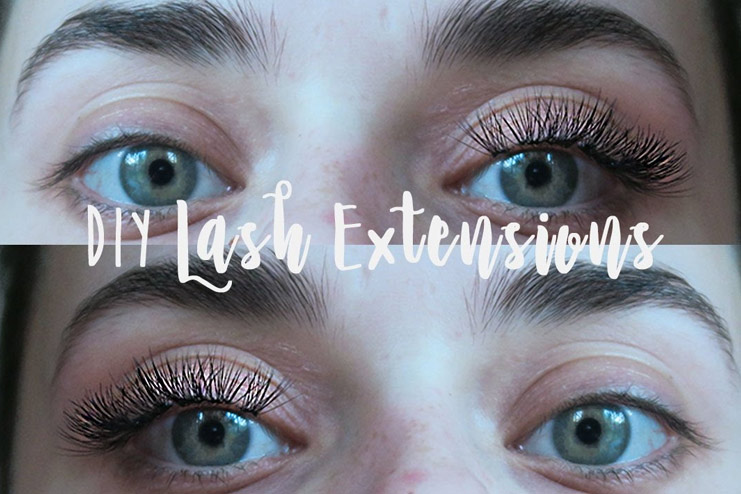
The joy in fixing eyelash extensions is inexpressible because it gives you a little kick that you achieved something so wonderful all on your own, one just spends 0 dollars and two because you don’t have to wait at the Salon or be in two minds of whether the stylist will do it well or not. Do you agree?
Before we get started, you should read through the points below to know necessary details about eyelash extensions
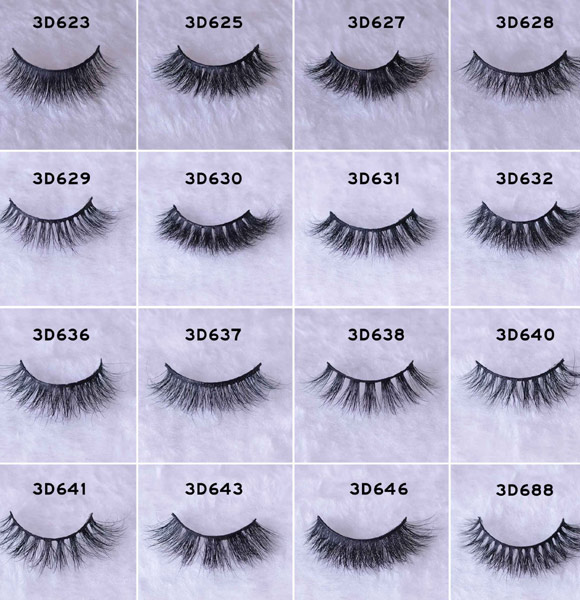
- It is a glue made synthetic eyelash.
- Extensions aren’t anything but a set of 8-9 eyelashes put together. However, a combination of these eyelashes is one extension that is stuck on your eyelash.
- To exactly say how long it lasts is tough. However, on average it should stay on your eyelash for about 8 weeks.
- It is going to take you a while to do the extensions on your own, estimated time would be around 2-3 hours.
- After a while, the extensions weaken and they fall out just as you natural eyelashes fall.
Here We Go And See How To Get Started!
Step 1 – Get Your Facts Right
You cannot just pick up any eyelash extensions and stick them on your eyelashes even if it means doing it all by yourself. Do you agree?
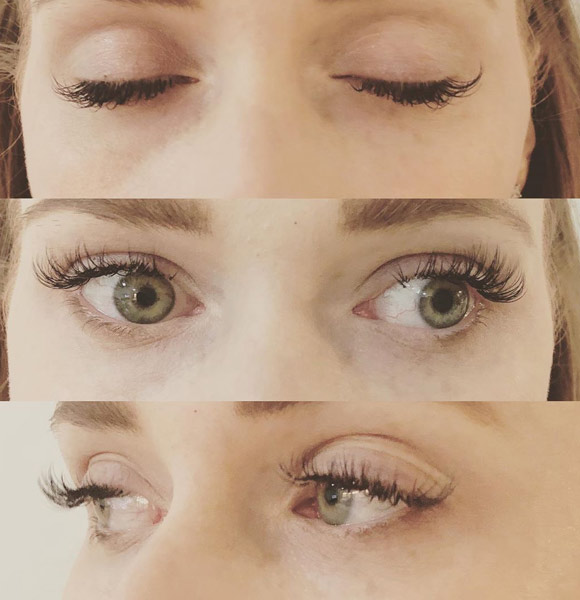
Always place an eyelash extension on your natural eyelash and see if it is looking nice and whether you are satisfied.
Once you are sure of that, pick the right extension based on how your eyelashes are at the moment. It means, you cannot take a long extension if you already have long eyelashes, can you?
That said, see to it that your eyelash extension is not too long when compared to your natural eyelash. Reason being, it won’t stick on your natural eyelash with ease.
Step 2 – Pick Your Kind Of An Extension
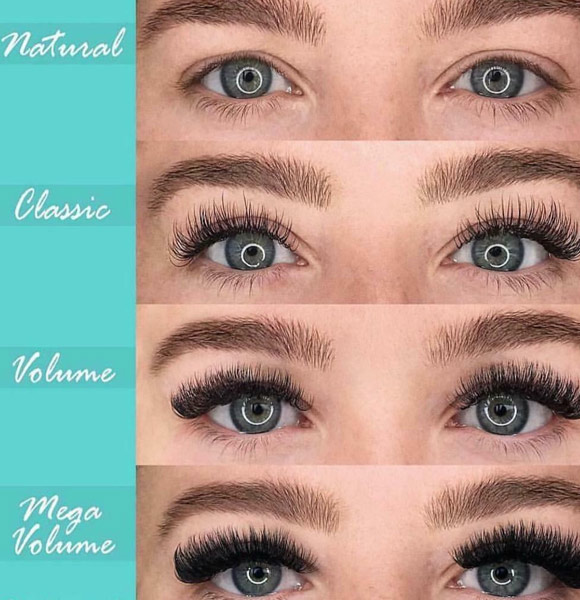
The factors that come into the picture when picking up extensions is your eye shape, the material of the eyelash extension and its length. In the end, think about how you want the eyelash to look.
Few Points to Know About Extensions
- Lengthwise you could go for something between 10-16 mm. Be wise with picking up a medium or long eyelash extension
- Synthetic material extensions are reasonable
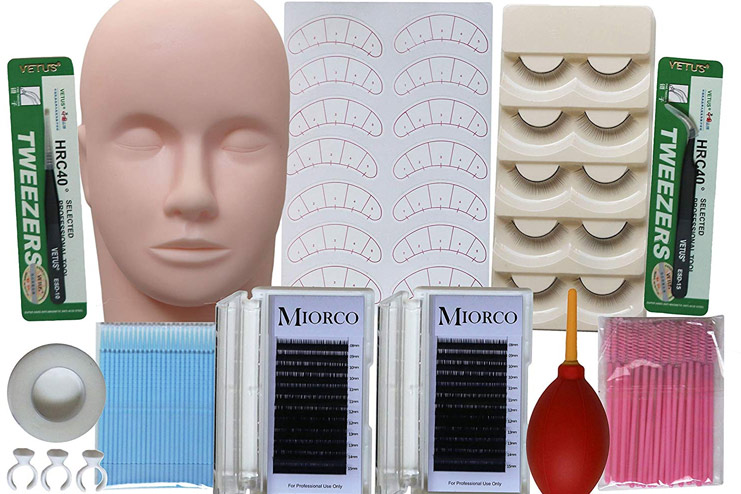
Step 3 – Stalk Everything You Need
Since you have a few of the basics right, it is easier for you to get started and before that you need the essential things to try and eyelash extension all on your own by playing some good music in the background in order to enjoy your task.
Materials
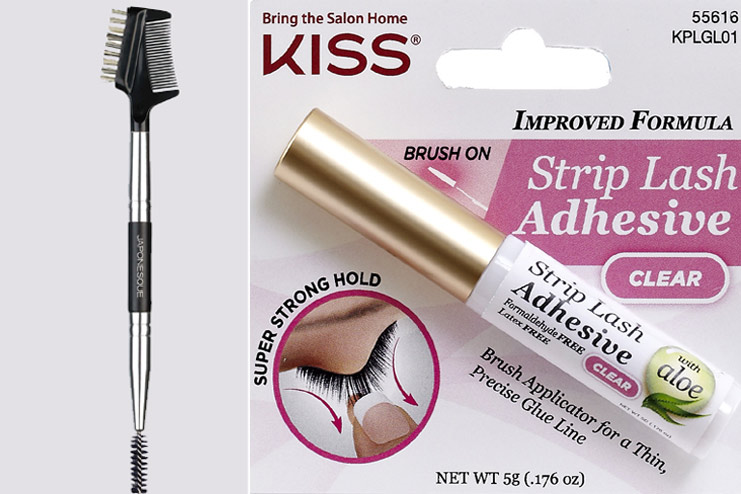
- An eyelash brush
- Glue – Lash glue
- Eyelash Extensions
- Tweezers
- Mirror
To make it even easier, there are eyelash extension kits available. You can consider that as an option as well.
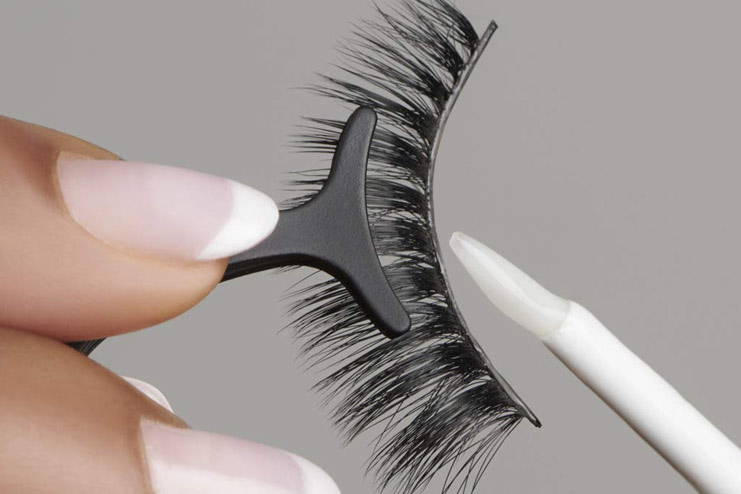
Step 4 – Shorten Or Alter The Eyelash Strips
You will need to use your tweezers to cut out what is not necessary and ensure to level the extension.
If needed you can trim the excess hair from the eyelash extension. Look at it in the corners, center and accordingly set it right before you stick it on your eyes.
ardelllashes.com has this amazing tip of chopping the unnecessary ends of the eyelash strip. Here you go

Step 5 – Clean Your Eyes
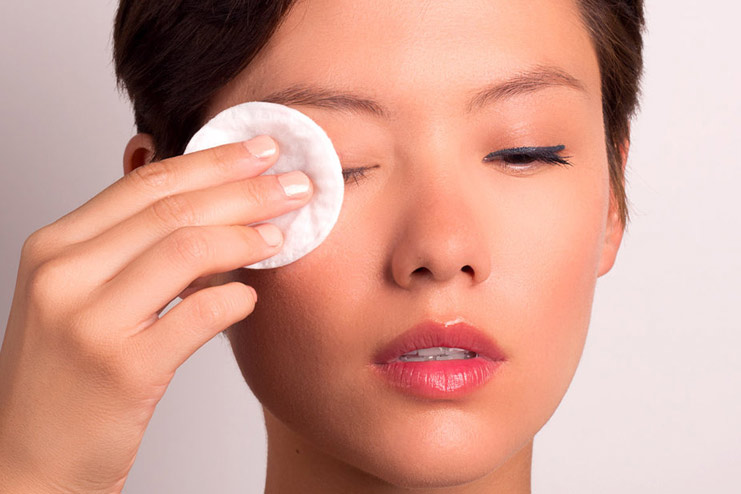
Before you get started full-fledged it is better if you clean the area around your eyes with an oil free makeup remover.
This step is essential before you fix fake eyelashes so that you can be sure that your natural lashes are clean.
[Check the Best Makeup Remover Wipes]
Step 6 – Apply Glue On Extensions – Be Smart
Only if the glue is applied right it will correctly get fixed on your eyelashes. Therefore, this is the first part among the other mandatory steps.
Exactly on the line of the extension, apply a line of the glue. See to it that you have applied sufficient glue at every corner.
If you want to avoid the glue from falling and spoiling the floor then you got to place a paper below and then apply it.
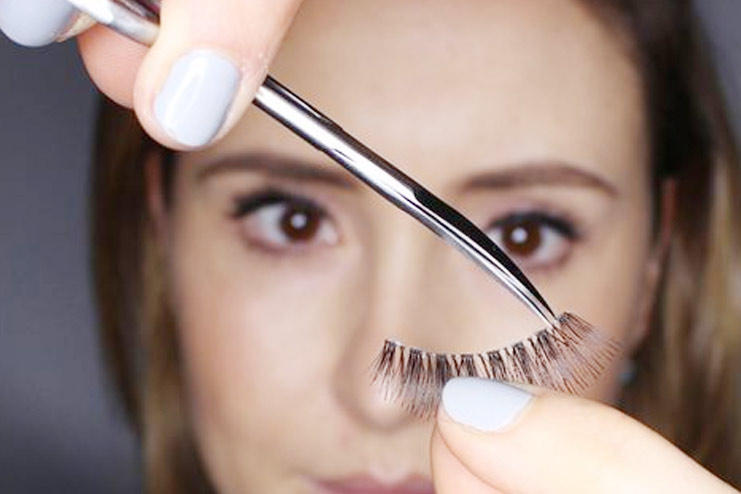
Step 7 – Time To Stick The Eyelash Extension
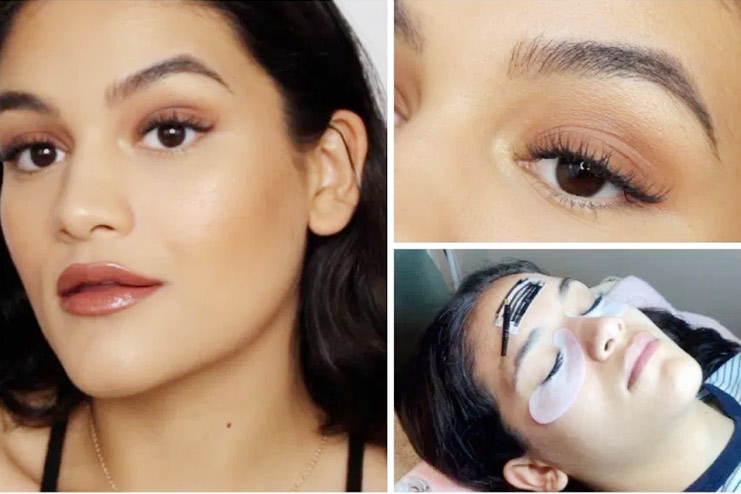
Time’s for the actual task, be vigilant(but relax), Hold the extension with a tweezer, placing a mirror right below your eyes is going to work awesome, so have to keep that in mind
Look below and place the extension from the center and then stick it until the corners.
Avoid closing your eyes while placing the extension on the upper lash line, once the eye extension is placed, gently press the extension with your fingers.
Step 8 – Dark Line The Extension Strip

Go forth and make the extension strip look evident and visible. It is always nice to draw an outline with thick liquid eyeliner.
This step is necessary because it helps with making your eyes look highlighted.
Start with drawing a line from the inner lash-line and then move it to the corner of your eyes. Ensure to keep your eyes slightly open so that you are aware of the steps you are following.
Take away
You can put eyelash extensions at home all on your own, provided you have materials such as an eyelash brush, a tweezer, glue and the required extensions.
It all comes down to applying glue on the strip, sticking it to your eyelashes and in the end using an eyelash brush and an eyeliner to darken the eyelash extensions. DIY eyelash extensions last for nearly 8 weeks.
Note:
- Avoid fidgeting with your eyelashes
- Brush them every day
- Make sure to clean them every three days
- Stay away from all oil-based makeup products
- Refill your extensions once in three weeks
In conclusion, the final look you achieve will all rely on how well you chose an eyelash extension for yourself, again, based on factors such as the length of eyebrows, shape of the eyes and the type of extensions you use.
What’s most important is that you should religiously follow all the steps and successfully complete the task of fixing the eyelash extensions. It doesn’t stop there, you need to take care of the eyelash extensions until it is on your eyebrows.
Try a DIY eyelash extension and celebrate the achievement of getting through the task. Fall for your admirable eyes.
Related Articles:


