


Affiliate Disclaimer
Some links in this article are affiliate links. We may earn a small commission if you make a purchase through these links, at no extra cost to you. We only recommend products we find useful to our readers
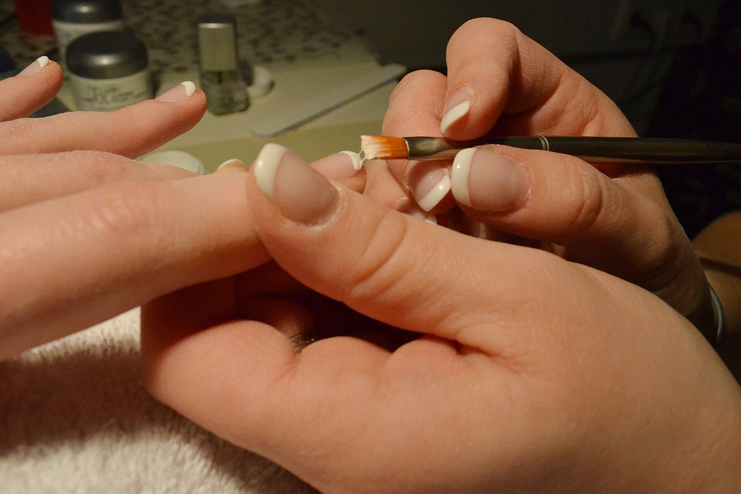
Nails Safety Is Everything!
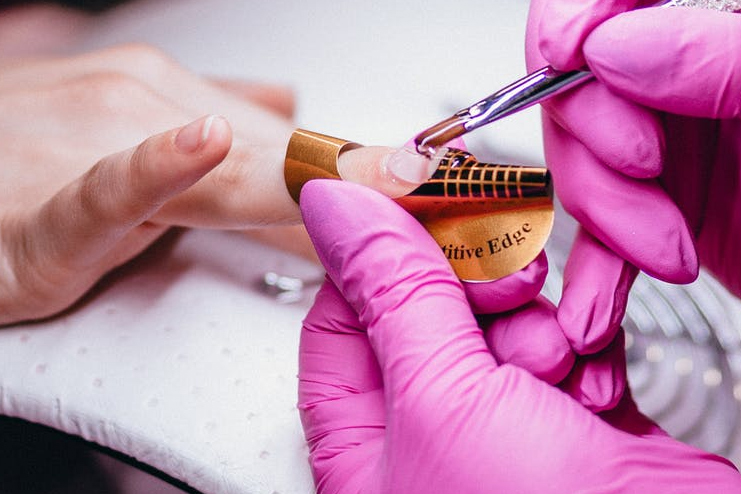
Acrylic nails fill-up the sober look on your fingers and they are an artistic means to follow a full-fledged trend with your nails. What not you can do with them? I can just see colors and designs toggling in my imagination!
Be it chic nail arts or sprinkling sparkles, acrylic nails is a fun zone to get creative and trendy with your nails. Nevertheless, how long can you keep the artificial look? There comes a time when you have to remove acrylic nails and go natural!
Figuring out away? You can go to a salon or stay satisfied with removing acrylic nails all by yourself at home. It is not like climbing a mountain, why not try it yourself when you have information in this article that can be of help to you.
Read through everything you need to know about getting off acrylic nails at home!
How to Remove Acrylic Nails At Home?
You have a choice when it comes to removing acrylic nails at home, you can either use acetone to get rid of them or you can do it without acetone.
If you are wondering on which works better, you will need to go through what is the procedure and then decide upon how you want to do it.
You need to use acetone carefully on your nails, at any cost, try to keep it away from your skin. Ready to learn it? It is simple! Just go for it!
Good To Know Information On Acrylic Nails
- If your acrylic nail is made out of MMA then it will be a little difficult for the nail to dissolve and come out.
- It is essential that one uses a good acrylic removal kit that has a file, cotton balls, foil and good quality acetone to get rid of acrylic nails the safe way.
- Acrylic nails usually last for about 6-8 weeks and before that it is essential to file these nails.
- It is not good to go for acrylic nails quite often as your nails need the breathing space too, they can get damaged.
- At any cost don’t be harsh while removing the acrylic nails, it can pain, spoil your nail bed and deteriorate the quality of your nails.
- If you choose acetone as an option to get rid of acrylic nails, nothing like it! Beware of the environment you are in, don’t use acetone where there is fire. It can be dangerous.
- Acetone might not gel well with your skin. In a few cases, it can cause dryness, swelling or redness on the skin. Although you are not going to apply the acetone on your skin, it will touch the skin around your nails and if you experience a burning sensation while applying it on the acrylic nails, you should remove it immediately and try safer method to remove acrylic nails.
- Once you are through the process of removing acrylic nails you will need to wash the glue stuck to your skin with soap. Make sure to clean it up as it is not safe for it to stay on your nails.
- Complete the process of acrylic nail removal with all ease by sitting in a comfortable place.
- You should leave your nails alone for at least a week after you remove all the acrylic nails.
Ways to Remove Acrylic Nails With Acetone At Home
You should know that acetone is a liquid chemical that holds the capacity to dissolve substances from a surface, it is effective because it comprises of a few compounds.
Apart from this, it is used to clean dirt. Thus, you can stay assured of its usability on your nails.
No 1 – Removal of Acrylic Nails with Acetone and Foil
Why To Do This
When you apply sufficient acetone on your nails and secure it with a foil, the acetone sticks to the foil and pulls out the acrylic nail easily.
What Do You Need
- Nail clipper
- Filer
- 10 pieces of cotton
- Aluminium foil cut in ten small rectangular pieces
- Acetone
- Cuticle Oil
Method
- Take a nail clipper and slightly trim your acrylic nails so that it gets easy to completely remove the acrylic nail.
- Use a fine filer to remove nail polish and one of the coats of the acrylic nail. Be careful while you do this, don’t be too harsh with your nails. You can move the filer back and forth while you are filing your nails.
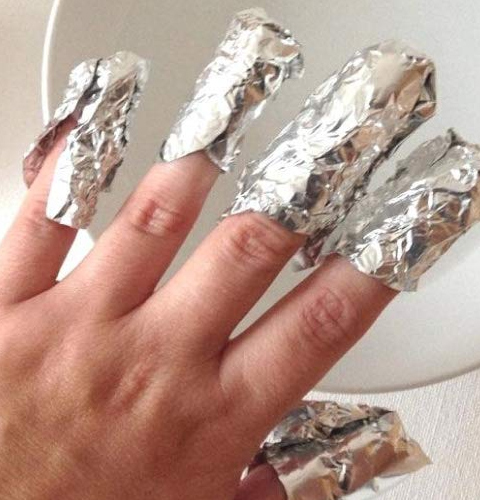
- You will need to apply a few drops of petroleum jelly around your cuticle and dip every cotton piece in acetone. Start to place all ten cotton balls on your nails. See to it that the cotton balls are not soaked too much in acetone and it should just be sufficient to cover your nails.
- Cover your nails with the cutout aluminium foils, wrap it over your fingers give them a gentle press and then allow it to stay on your fingers for about 30 minutes.
- Slowly remove the aluminium foils from your nails and you will see the acrylic nails coming out. If you don’t see that happening, you will have to put back the aluminium foil and remove it from your fingers later.
HerGamut Tip
- Be careful and see to it that acetone doesn’t spread around your cuticles.
- Before dragging out the aluminium foil, gently press your nail and then pull it out.
No 2 – Removal of Acrylic Nails with Acetone and Hot Water
Why To Do This?
A mixture of acetone and hot water helps remove acrylic nails easily because a combination of heat and chemical is effective.
What Do You need?
- Nail clipper
- Acetone
- 1 small bowl filled with acetone
- Petroleum jelly
- 1 small bowl filled with warm water
- Tweezer
Method
- Cut a part of the acrylic nails with a nail clipper.
- Apply a few drops of petroleum jelly on your cuticle, this is to shield your skin from the chemical.
- Keep the small bowl of acetone in the bowl of warm water.
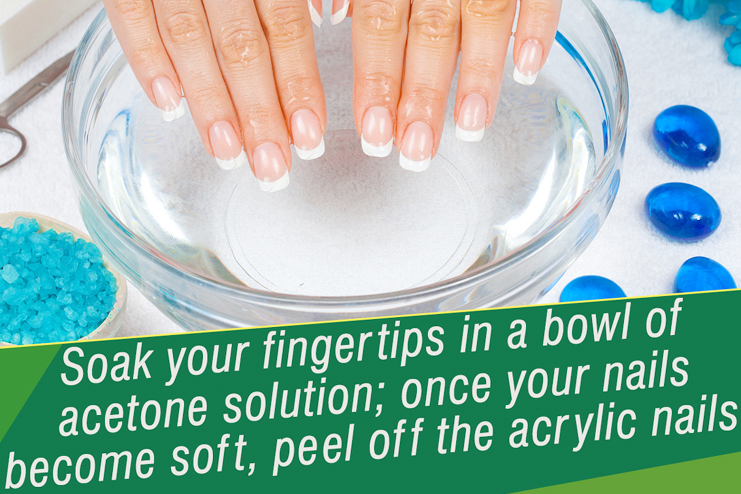
- Dip your nails in the bowl of acetone and leave it there for at least 20 minutes. You can take your fingers off the bowl every few seconds. However, make sure that you keep your nails in it for 20 minutes.
- Once you see the acrylic nails getting soft you can use a tweezer and pull it out from your nails. If you feel that your nails haven’t got soft then keep your nails in the acetone for some more time.
HerGamut Tip:
During this process you will have to keep your cuticles safe, you are prone to feel the burning sensation of acetone on your skin as it is, after all, a chemical. Smartly place your nails in that bowl.
Ways to Remove Acrylic Nails At Home Without Acetone
If you don’t want to risk the chemical settling on your skin you can remove acrylic nails at home without using acetone easily. Take a look at the different ways of doing it and follow the procedure!
No 3 – Remove Acrylic Nails with Dental Floss
Why To Do This?
The reason you should use dental floss to remove the acrylic nails is that it slips out when you pull it out with the string.
What Do You Need?
- Dental floss
- An orange stick
Method
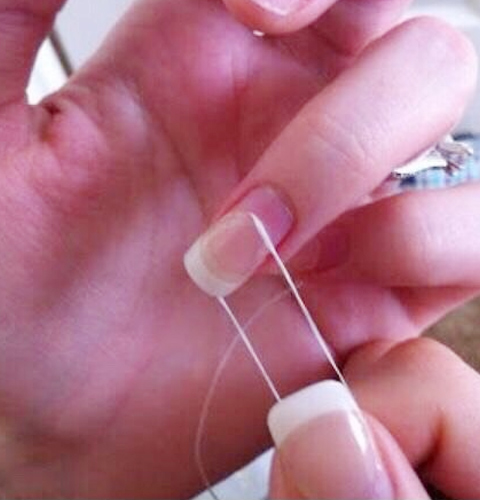
- Slide the dental floss under the acrylic nail. Push this in gently
- Try to place it in such a way that it covers both ends of your nails
- Move the dental floss left and right, if you are finding it tough, you can ask someone to help you move the floss so that you can balance the finger from where you are going to remove the acrylic nail.
- While moving the floss if you notice that the acrylic nail is not completely stuck to your nail, you can use your fingers and pull out the acrylic nail.
HerGamut Tip:
You will need to take help to effectively complete this task, you will find it tough to do it all by yourself the more you move it back and forth, the faster it will come out.
No 4 – Removal of Acrylic Nails Using Acetone Free Nail Polish Remover

Why To Do This?
The chemicals in nail polish removers are effective as well. They help with taking off the acrylic nails that are stuck on your natural nails.
What Do You Need?
- Nail clipper
- Nail polish remover(acetone-free)
- Cuticle pusher
- 1 bowl
- Tweezer
Method
- Use the nail clipper and trim your long nails. Trimming the acrylic nails will make your task easier.
- Use a cuticle pusher and try to push out the acrylic nails from the sides.
- Dip your nails into the bowl filled with acetone-free nail polish remover(don’t fill too much of the bowl, as you will need to keep pouring it on the acrylic nails).
- You will need to leave your nails in this for about 30 minutes.
- After 30 minutes, touch the acrylic nails and check how well has it got soaked. If you find it soft, then use a tweezer or your fingers to pull it out and if it hasn’t got soft yet, you will need to keep it for longer.
HerGamut Tip:
Even this method involves dipping your nails into a chemical, the only difference is that it disappears in the air, unlike acetone.
No 5 – Remove Acrylic Nails with A Debit/Credit Card
Why To Do This?
This method of taking off the acrylic nails will work with the pressure of the orange stick and plastic card on the acrylic nail.
What Do You need?
- An orange stick
- Debit Card
- Embred board
Method
- Use the orange stick and push all the acrylic nails from the sides.
- As you see the acrylic nail coming out of your natural nail, you will need to use a business card and push the acrylic nail downwards. While you are pushing the nail see to it that you don’t scrape out your natural nail.
HerGamut Tip:
In this method of removing the acrylic nails, you will need to put in extra effort to push you the acrylic nail. Thus, you need to be cautious while doing it.
No 6 – How To Remove Acrylic Nails With Rubbing Alcohol
Why To Do This?
Alcohol has the ability to make the acrylic nails dissolve well and come out. Having said, this method comes with a risk and it is recommended to remove acrylic nails with acetone only.
What Do You Need?
- Rubbing Alcohol
- Nail Clipper
- Towel
- Cuticle Pusher
- Soap
- Petroleum Jelly
- Bowl
Method
- Cut half of the acrylic nail with the nail clipper so that the task gets easier.
- You need to protect the cuticle part of your skin and to do so you will need to apply a layer of petroleum jelly. Massage it well on your cuticle area.
- Take a bowl and pour little rubbing alcohol into it. Cover your fingers with a towel and only dip the acrylic nails into the bowl. See to it that the rubbing alcohol doesn’t touch your skin. It might touch your skin a little, however, try and keep it away from your skin.
- Keep your nails in this bowl for about 20 minutes and then use a cuticle pusher to take off the acrylic nails.
- If you see that the acrylic nails haven’t soaked well and softened in the bowl, then you should wait for a while and only then push it out of your nails.
- In the end, you need to use soap and wash your hands to get rid of the chemicals in rubbing alcohol.
Conclusion
This method would work to remove acrylic nails, however, it is equally risky if it gets into your skin.
How to Protect Damaged Nails after Acrylic
Here are important things to know about taking care of your natural nails after an acrylic nail removal, small damage is bound to happen so you don’t have to stress over it, just take a few precautions. Read through!
No 1 – Use the Nail Clipper
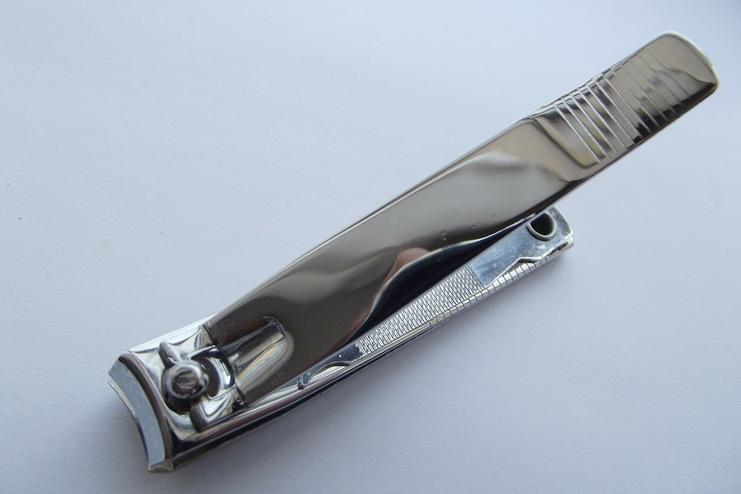
You need to clip your nails in the corners, there are chances that your nails might hurt or break and get damaged after removing the artificial acrylic nails. Your nails might feel weak, thus, you should do this.
No 2 – File Your Nails Correctly
Several times our nails get damaged because our technique of handling them is not right. That being said, you should file your natural nails after an acrylic removal.
Be mindful about the direction you are shaping your nails in, if you have started from the left, then move the filer in that direction only.
It will be easy if you begin from the edges and then move to the center of your nails.
No 3 – Do A Healthy Nail Buffing
The purpose of buffing your nails is make it shine and look consistent, it is natural that you must have lost it after taking off the acrylic nails.
Before you buff your nails, you will have to use acetone or vinegar to clean your nails.
Be gentle while using the buffing tool on your nail. It shouldn’t steal your nail’s natural thickness. You will need to follow this procedure for a week.
No 4 – Moisturizing Your Hands Will Help
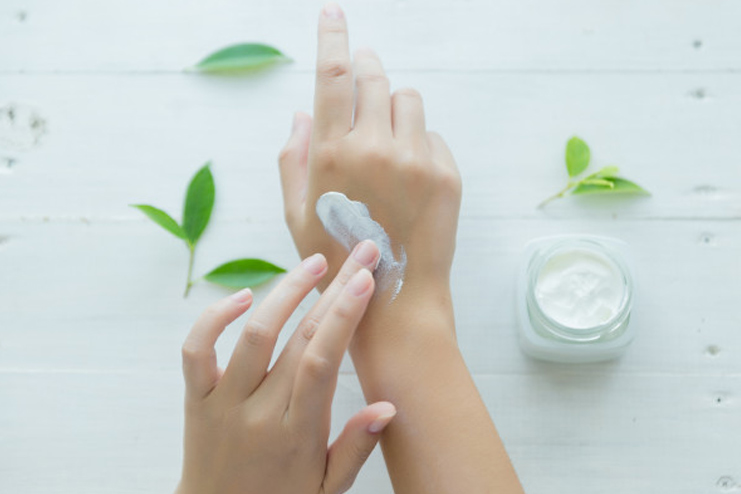
Although it is your nails that need to be given attention, it is inter-connected to moisturizing your palm with an effective moisturizer.
You will need to follow this step because your nails regain the lost moisture and before going to bed and after having a shower you can apply a few drops of moisturizer and rub it well on your hands.
This step will keep your nails soft!
No 5 – Apply A Coat Of Cuticle Oil
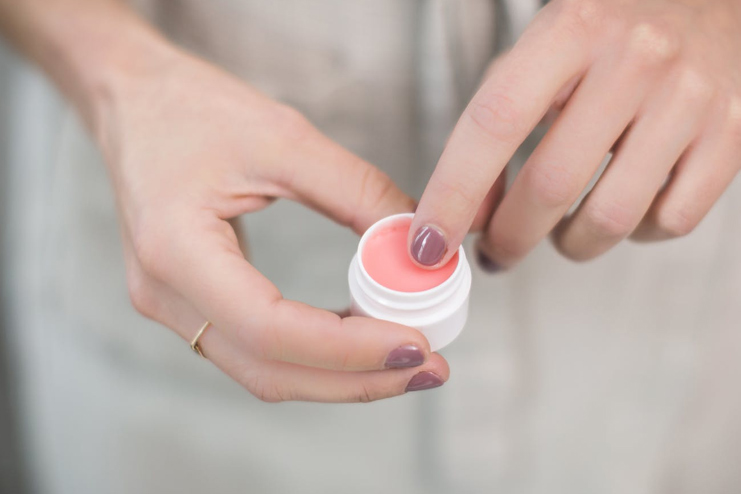
You will need to give your nails effective care and that’s possible only when you apply a few drops of cuticle oil that has moisturizing properties.
You should use olive or jojoba oil. Apply two drops on every nail and gently massage it for a few seconds. Do this at night, it will lock the moisture in your nails.
Read: How to Apply Cuticle Oil and Best Rated Cuticle Oil
No 6 – Polish Your Nails With A Nail Strengthener
This step towards protecting damaged nails is optional. It will be good if you apply a coat of nail strengthener or otherwise called a nail hardener.
You will need to apply a coat of this on your nails once you are done moisturizing. This part of the procedure will help your nails regain lost strength.
Post this, you will have to be patient and wait for your nails to grow like they used to.
No 7 – Eat Nutritious Food

If you want your nails to stay healthy after this and grow well, you need to eat foods rich in protein and vitamins.
Eat eggs, legumes, red meat and leafy vegetables. Let the natural process take its form and help your nails get healthier and long.
No 8 – You Can Try An Alternate To Acrylics
If you want to be smart and find a safer alternative to acrylics, you should try using gel on your nails, it will give your nails a smooth finish, add shine and fulfil your nail art desire.
In situations when your nails are totally damaged after an acrylic, you can stick to gels instead of using acrylics.
No 9 – Regularly Discard Acrylics
For a fact you should be aware that acrylics cannot cling on your nails for longer than 6 months or a year, it will make your nails completely weak and you don’t want that for your nails, isn’t it? So get yourself new acrylics.
Finally, you have to follow a good nail care procedure such as clipping your nails, filing and buffing, applying cuticle oil and nail hardener, eating foods rich in biotin and lastly changing your acrylic nails every 6 months to 1 year.
If you follow these steps, you can save your nails from all the damage caused due to acrylic nails.
If you have the patience and do it right, it is simple to remove acrylic nails at home. On a whole, removing acrylic nails with acetone is proved the best if you get the knack of doing it effectively.
It isn’t that you cannot get away from acrylic nails without acetone, you can but it could take a while and there is a risk to your nails getting bad when you try scrapping the acrylic nails too hard.
Therefore, whatever you do, stay safe while handling your nails and give it all the care it needs.


